Showing posts with label chocolate. Show all posts

Tuesday, February 11, 2014

Double Chocolate Muffins

Dear 15-year-old Abbi,
Hi.  It's me, your 12-year older counterpart.  You don't know me, but I am intimately acquainted with you.  When you're 27, you are going to do things you never thought possible.  You're going to be married to a man (with facial hair!  And chest hair!  A real manly dude!) who encourages you to learn Spanish and gets you to eat mushrooms with gusto.  You will eat out at restaurants where you willingly order braised goat and boar jowl.  You will give up bacon and brie for an entire year, subsisting on tofu, tempeh, and kale juice (among other things).
One day, you will come across a double chocolate muffin recipe that requires no butter or eggs, instead using coconut oil and beets (yes, beets), and you will think to yourself, "I want to make these for myself and my bearded husband."  You will bake these with your own baby next to you in a high chair, giggling at the pink veggies being pureed.  You'll eat 4 in one sitting while that baby blissfully naps for a few minutes next to you.
I know you're shaking your head right now, but I know this for a fact.  You will use 'vegan' and 'delicious' and 'chocolate' in the same sentence.  I promise.


Double Chocolate Muffins (with Beets!) via Minimalist Baker
2 flax eggs (2 Tbsp. flaxseed meal and 5 Tbsp water)
1 c. beet puree or applesauce (for beet puree, just toss 4-5 small roasted beets into a food processor and pulse until smooth)
1/4 c. agave syrup
1/3 c. brown sugar
1/4 tsp salt
1 1/2 tsp. baking soda
1/4 c. melted coconut oil
1/4 c. almond milk
1/2 c. unsweetened cocoa powder
1 1/3 c. flour
1/3 vegan chocolate chips (I found some great ones at Target!)

1. Preheat oven to 375 and line 12-muffin tin with paper liners.
2. Prepare flax eggs in a large mixing bowl and let rest for 5 minutes.
3. Add pureed beets (or applesauce), oil, agave, sugar, baking soda, salt, and whisk for 45 seconds.
4. Stir in almond milk and whisk until smooth.
5. Add cocoa powder and flours and stir with spoon until just combined.  Batter will be scoopable, not pourable.  If it's getting too thick, add more milk.
6. Stir in chocolate chips.
7. Scoop batter into tins (should make 10-12 muffins) and bake 17-22 minutes, until a toothpick inserted into the centers comes out clean.  Let cool, then remove from muffin tin, and enjoy!

Monday, April 1, 2013

Happy Birthday to Haley!! (Also, a chocolate buttercream frosting)

Take a good, hard look at the face in the photo above.  
That face is 25 years old today.  
Has 25 ever looked so impossibly wonderful, cute, and sweet?!  
Happiest, most wonderful, heartfelt birthday wishes for my incredible younger sister, who has somehow scored in both the personality AND looks department.  I couldn't be more glad that you were born!

Haley (and Mom!!) came up to Atlanta last week (I cannot wait to share photos with you; there was a lot of cuteness to be had), so we celebrated the birthday a couple of days early.  How could you not want to bake a wonderful cake for that cutie pie?  Inside of that frosting is a peanut butter cake, but the real star of the dessert was a chocolate buttercream frosting from Joy the Baker.  All of us may have taken turns licking the bowl, spatula, and beaters; there is no photographic proof, though, so good luck pinning it on us.
Slather this frosting on top of any cake, celebratory or not.  Its rich, dimensional flavor and velvety smooth texture will make anything taste good.  I'm tempted to make a batch and use it as dip for apple and pear slices.
Of course, it is best when showing the people close to us that we love them.

Best Chocolate Buttercream Frosting from Joy the Baker Cookbook, 2012
3/4 c. butter, room temperature
1/2 c. unsweetened cocoa powder
1/2 tsp. salt
2 1/2 c. powdered sugar
2 Tbsp. milk
1 tsp. vanilla extract
1/2 c. heavy cream
1/3 c. Ovaltine powder
1. Cream together butter, cocoa powder and salt. Butter mixture will be very thick. Turn off the mixer, scrape down the sides of the bowl and add powdered sugar. 
2. Turn mixer on low and mix in powdered sugar while adding milk and vanilla extract. As the sugar incorporates, raise the speed of the mixer to beat the frosting. Beat until smooth. 
3. In a 2 cup measuring glass, stir together heavy cream and Ovaltine. Turn mixer speed to medium and pour cream mixture into frosting in a slow, steady stream until you’ve reached your desired consistency.  You may not need the full amount of Ovaltine and cream.  (I used it all, for whatever that's worth.)
Happy birthday, Face.  I wish I could bake you cakes every day to show you how awesome you are!  

Wednesday, December 19, 2012

Chocolate Hazelnut Crepe Cake


Sometimes it's just a good thing for us to be challenged in the kitchen.  To walk into the hearth of the home, and feel undaunted with a crazy new recipe.  I think it's good for the soul, and certainly excellent for our self-esteem, to be able to impress with something we've made with our own two hands.  
Thus, the decision was made to spend most of Sunday making a 17-layer hazelnut crepe cake.  I wanted to show my wonderful DC cousin that her recent birthday did not go unnoticed, and that she is worthy of a wonderfully decadent dessert.  I also wanted to face my fears of creating crepes and pastry cream from a handful of ingredients.  I'd say both were accomplished. 


Chocolate Hazelnut Crepe Cake (from Smitten Kitchen, 2012)
Crepes:
9 Tbps. unsalted butter (for both crepes and pastry cream)
2 1/3 c. whole milk
6 large eggs
1 1/2 c. flour
1/8 tsp. salt
1/2 c. sugar

Hazelnut pastry cream:
1 c. hazelnuts
1 c. confectioner's sugar
2 tsp. vanilla extract
1/4 tsp. salt
3 1/3 c. whole milk
7 Tbsp. sugar
5 egg yolks
5 Tbsp. cornstarch
butter leftover from crepes

Chocolate ganache: 
6 oz. chocolate chips
1/4 c. + 2 Tbsp. heavy cream
1 Tbsp. vanilla extract


Make Crepes:
1. In a small saucepan, brown all butter according to these instructions.  Let cool to lukewarm.
2. In a blender, combine milk, eggs, flour, salt, sugar, and 6 Tbsp. browned butter.  Cover finished mixture and refrigerate for one hour or up to 2 days. 
3. When you're ready to actually cook the crepes, preheat a medium non-stick skillet or crepe pan over medium-high heat.  My pan is super non-stick, so I could skip the buttery, but you may want to brush  your own with melted butter to ensure nothing clings to the surface.  
4. Pour 1/4 c. batter into skillet and quickly swirl it around until it evenly coats the bottom and cook, undisturbed, until the bottom is golden and top is set (1-2 minutes).  Carefully flip and cook on other side for 5-10 additional seconds to set.  It may take you a couple to get the hang of it, but the batter makes a TON of crepes, so no need to fear.  You can do this!  There are a few good videos on YouTube to walk you through the process if you want to visualize it; I'd start with this one, and the pouring/flipping starts at the 1:40ish mark.
5. Transfer finished crepes to a plate and just stack; they won't stick together.  I found that the batter actually made close to 25 crepes, but you'll only need 16 or 17 for this recipe, as the pastry cream only makes so much. 


Toast/Skin Hazelnuts:
1. Preheat oven to 350 and spread hazelnuts on a baking sheet.  Toast for 10 minutes, rolling around halfway through.  Remove from oven and let cool. 
2. Rub nuts between your palms to remove skins, and discard. 


Make Hazelnut Pastry Cream:
1. In a food processor, grind nuts, confectioner's sugar, extract, and salt into damp-looking crumbs that combine in small clumps.  Do not over mix, or you'll make a hazelnut butter!
2. In a saucepan, combine the hazelnut paste, milk, and sugar over medium-high heat and bring to a simmer, stirring a bit so it doesn't scorch.  In a medium bowl, whisk together yolks and cornstarch until smooth.  Stream in small spoonfuls of the hot milk into the yolk bowl slowly, until you find that the bowl is hot.  
3. Now, reverse.  Slowly stir in yolk mixture to milk saucepan, whisking constantly, until the two are combined.  Continue whisking while you bring the mixture to a boil and cook for 2 minutes; it should thicken upon boiling, to a loose pudding consistency.  Remove from heat and stir in remaining 3 Tbsp. browned butter.  
4. Transfer to a bowl, press plastic wrap on top of cream, and refrigerate until set, probably about two hours. 


Assemble Cake:
1. Lay first crepe on plate and spread with 1/4 c. pastry cream.  Repeat with remaining crepes until you're out of pastry cream.  Chill in the fridge until you're ready for the ganache.


Ganache:
1. Melt all ingredients in a double boiler until smooth, but thick.  Remove cake from fridge, pour ganache on top and gently push some off the sides, so it's there are a few drips on the edges.  Set cake in fridge until the chocolate is set.


Finally....slice and eat!  

Thursday, December 6, 2012

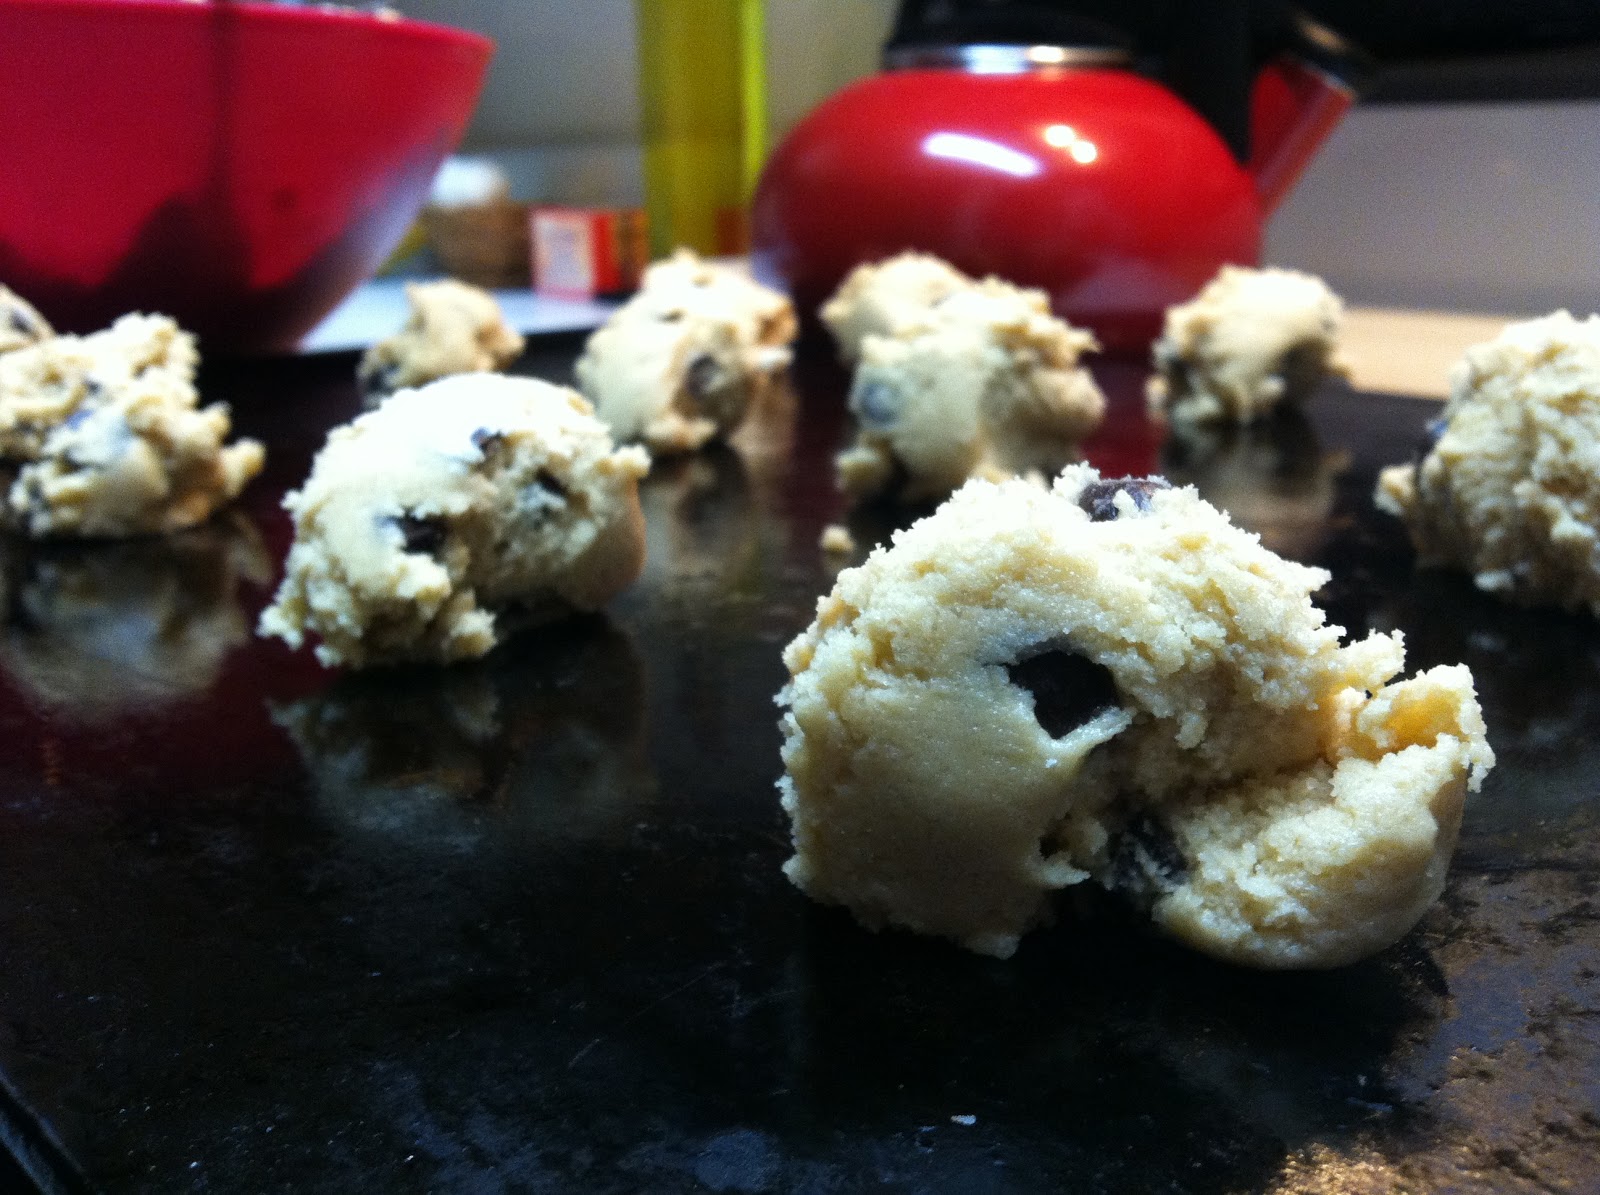
Secret Weapon Chocolate Chip Cookies

I don't admit to being a snob about most things, but chocolate chip cookies is one of them.  I like them soft and chewy, maybe even slightly undercooked.  Don't give me those crispy cookies!  I've always used the Nestle Tollhouse cookie recipe (which is really great and has garnered me many compliments/marriage proposals), but sometimes ended up with crispy/flat/weird-textured cookies.  I know, I know, the butter was too soft, or I didn't measure the flour precisely enough, but come on!  Where was my fool-proof recipe for MY ideal cookie?!

Well.  Here it is.  It's Anna Olson's secret ingredient that did the trick.  She subsitutes a portion of the baking soda with corn starch, and oh. my. goodness. Soft, chewy, perfect every time.  You'll want to double this recipe, because it only yields 24 cookies, and I promise that will not last you long enough.  I made 62 of these babies last night, and 12 of them had mysteriously disappeared by the time I got home from work today.  Apparently, we have cookie gremlins...

Secret Weapon Chocolate Chip Cookies
3/4 cup unsalted butter, softened
1 cup brown sugar
1/4 cup granulated sugar
1 egg
2 teaspoons vanilla extract (I always double the amount of vanilla, but that's up to you)
2 cups all purpose flour
2 teaspoons cornstarch
1 teaspoon baking soda
1/2 teaspoon salt
8 ounces bittersweet chocolate, cut into chunks

1. Cream together butter and sugars until smooth. Add egg and vanilla and mix until incorporated.
3. Stir in flour, cornstarch, baking soda and salt.  Add chocolate chips.
4. Drop by tablespoons onto a greased baking sheet and bake for 8-10 minutes at 350 degrees, until golden brown around the edges.
5. Set up a gremlin detection system to protect your new treasure.

Wednesday, October 17, 2012

Single Serving Chocolate Lava Cake

Ladies, THIS IS IT.  Do you have a single girl night in coming up?  Feel like eating an indulgent dessert but don't want a gazillion leftovers?  Like cake batter, but warmed up and more fancy?  This is your dessert.
JP was out of town this weekend, and I had Saturday night all to myself.  Gossip Girl was already to go on my Netflix, comfy elastic-waist pants were on, and I just needed something warm in my belly.  As is my recent routine, I rifled through my Joy The Baker Cookbook, and landed on this recipe.  It's got 6 ingredients, which I already had in my fridge and pantry, and gave me an excuse to use our wedding 8-ounce ramekins (the things you register for during wedding planning...).

It's your typical chocolate molten center cake: dark and rich, with a cake shell encasing an oozing fudge center.  Double the recipe for a dessert for two, quadruple it for a small dinner party, but there's no shame in doling out the single-serving for you.  I'm sure you deserve it. 

Single Girl Melty Chocolate Cake (from Joy the Baker Cookbook, Joy Wilson, 2012)
1 Tbsp. unsalted butter
1/4 c. semisweet chocolate chips
1 large egg
4 tsp. sugar
Pinch of salt
1 tsp. all-purpose flour

1. Preheat oven to 375 degrees, and place cookie sheet in oven as it heats up.  Generously flour and butter an 8-oz. (1 cup) ramekin.
2. Place butter and chocolate into a microwave-safe container (I used my glass measuring cup) and heat in microwave until both are melted, maybe 40 seconds.  Set aside to cool.
3. In a small bowl, whisk together egg and sugar.  Pour chocolate mixture into bowl and whisk until well incorporated.  Add salt and flour and mix until just combined.
4. Pour batter into prepped ramekin and place in oven on top of cookie sheet.  Bake 7-10 minutes; the less time it's in the oven, the more oozy the middle will be.  (The top should be set, though, so you can turn it out onto a plate!)
5. Remove from oven and cool for 2 minutes.  Using pot holders, invert cake onto plate and devour.


Tuesday, July 3, 2012

Banana Oatmeal Bars

As much as my sister and I love food (between the two of us, we could probably eat the entire contents of both our kitchens in one day flat.  Haley, should we try this?), we don't often swap recipes.  There's no hard feelings behind this, just that we don't really cook for each other as we did back in Florida.  At college, Haley was a frequent visitor at my apartment during junior and senior year, and we would spend lots of time looking through cookbooks, trying out baked goods, and eating lots of pasta together.  Living in two separate time zones has really put a kink in that, though.
She did, however, pass this recipe on during my recent bachelorette weekend, and I knew I would have them waiting for John Paul when he got home.  I used her suggestion of substituting applesauce for the vegetable oil, and also added 1/4 c. melted peanut butter for a little nuttiness. 
HOLY BANANAS.  Just make them.  They're gooey, soft, and unbearably decadent for a dessert with no butter.  And Haley, keep those recipes comin'.  You've totally proven your worth in the baking department, yet again.

Monday, May 14, 2012

Red Wine Chocolate Cake

I'm a little behind on blog posts.  This recipe is actually from our one-monthiversary on April 24.  Goodness, we're already several weeks into this whole marriage thing!
The story with this cake is simple: it's incredibly delicious, rich, and full-bodied with a nose of berries.  (Is that a thing?)  Red wine gives the cake a lovely deep red tint, although you should know that the alcohol does NOT completely bake out.  Not only does this mean that you'll definitely taste the wine in the cake batter (you know, if you're into that whole raw batter/dough thing), but it means you'll have to refrain from serving it to small children.
Now, the story behind the decision to make this cake and how we came to eat it is a little more simple: it sounded good, and we wanted to splurge on a random Tuesday that was only important to us.  It's the little things that sometimes get you through the days, and this day in particular was a little rough.  JP's job has been requiring a lot of his time lately (well, more than what we're used to), and I wasn't really expecting the first months of marriage to feel different (they do).  Our 30-day mark happened to fall on the day before JP had to fly to Texas for several days, and then he ended up being home 3 hours later than I expected.  There were two options: be mad and sulk throughout the dinner to celebrate us or be happy to get this time with JP and be supportive and loving when he got home.  I chose the latter.  I'm learning that marriage, and life in general, is sometimes just being happy with chocolate cake and your husband, and letting the other things fall by the wayside.  If you make this cake, be in the moment of making it, savoring the bites, licking the powdered sugar off your fingers.  Life is better that way.

Thursday, December 22, 2011

Orangettes

Orangettes: candied orange peels dipped in chocolate.  See also: a reason for living.
Seriously, it's hard to stop at eating just one of these beautiful treats.  The orange peels are bright and sweet, tempered by the bitterness of dark chocolate.  I made these on a whim over the weekend (John Paul was out of town and a bag of oranges was less than $4 at Trader Joe's), and am so glad to discover how easy they are!
I used Smitten Kitchen's recipe, which worked wonderfully with a few tweaks.  After reading some comments from her original post, I blanched the peels a total of three times, each time using a fresh pot of boiling water.  I also left the peels to dry for 12 hours after simmering them in the simple syrup, which made them much easier to handle when dipping into chocolate. 
I found it easiest to score the orange peel about 8 times down the sides, peel away the pith, then slice into strips.  Also, I used organic navel oranges to avoid the wax sprayed on to maintain freshness.
They're so wonderful!  Slightly bittersweet, with a crunchy chocolate coating.  If you need a tasty party treat, I highly recommend orangettes!

Thursday, March 17, 2011

4-Layer Devil's Food Cake with Chocolate Mousse Buttercreammmmm

 
Oh lordy, I was ecstatic to break out a tasty dessert for a small dinner party JP and I hosted on Saturday night.  This cake is from the Sticky, Chewy, Messy, Gooey cookbook Haley gave me over Christmas, and it was a real showstopper!  Please picture this: velvety, decadent, smooth mousse-like frosting sandwiching fluffy, rich layers of devil's food cake.  Now imagine that in your mouth and tummy!  Oh my gosh, this is soooo amazingly delicious.
A couple of tips for making this dessert: be sure to cool the cakes so they come out of the pans easily, slice through each layer carefully for stress-free assembly, and beat the buttercream senseless.  It took a long time for the frosting to come together, so just keep at it until everything comes together.  It'll happen, I promise.
Can I please say that I'm just impressed with myself for putting this together?  So often my desserts for company end up looking disastrous, or being underwhelming, but this was great!


Thursday, January 13, 2011

Giant Chocolate Sugar Cookies

 
 I haven't done my baking as of late; something about the winter is bringing out my inner lazy teenager who eats cereal for dinner.
Hey, we can't be perfect all the time.
I finally bought some butter this weekend, and thought I would ease myself back into the cookie scene.  What do we all want out of a cookie?
Chocolate? Yes.
Sugar? Yes.
Giantness? Definitely.
This cookie recipe by Martha Stewart (from her Cookies cookbook, or website) didn't even stand a chance.  Go ahead and try it with the melted shortening; it really does create a smooth, perfectly textured treat.  The edges will get a bit crispy, but the center will be moist and chewy.  The recipe really only makes 12 cookies, so double it if you want more.  Great for getting you out of the winter rut, and pairs nicely with an extra cold glass of milk!


Thursday, November 11, 2010

Chocolate Mascarpone Pound Cake

Pound cake is such a wonderful dessert; it's moist, barely sweet, and pairs well with almost any sweet sauce or fruit.  It's great for winter, when you want something a little heavier than ice cream, but want to keep all your teeth from rotting away.  Giada de Laurentiis' version has chocolate chips and unsweetened chocolate (with sugar added!), so its' flavor is deeper than your typical chocolate cake.  Coating the chips in flour before adding them to the liquid ingredients makes sure they don't sink to the bottom of the cake; flour helps them situate themselves throughout the entire dough.  I don't know how it works, but it's best to not question these things.
This is the world's most perfect chocolate chip pound cake recipe because it makes TWO cakes!  Wrap the second one in plastic wrap, then aluminum foil, and freeze for a later use. 

Chocolate Chip Pound Cake (from Giada de Laurentiis' Giada's Kitchen, 2008)
5 oz. unsweetened chocolate, chopped
1/3 c. mascarpone cheese, room temperature
2 1/4 c. sugar
1 c. vegetable oil
3 large eggs
1 Tbsp. vanilla extract
1 tsp. baking soda
1 tsp. salt
1/2 tsp. baking powder
3/4 c. chocolate chips
1. Preheat the oven to 375.  Grease and flour two 9x5-inch loaf pans.
2. In a small sauce pan, combine the unsweetened chocolate and 1 c. water.  Place over medium-low heat and stir constantly until the chocolate is melted, about 2 minutes.  Set aside to cool for two minutes, then whisk in the mascarpone until the mixture is smooth.
3. Beat the sugar, oil, eggs and vanilla in a large bowl for 30 seconds.  Stir in the chocolate mixture.
4. Whisk the flour, baking soda, salt, baking powder and chocolate chips in a medium bowl.  Add to the wet ingredients and stir until just blended.
5. Divide the batter among the two pans and bake for 55-60 minutes, until a tester inserted into the center of each loaf comes out with no crumbs attached.  Cool in the pans for 5 minutes, then turn out into a wire rack to cool completely.


Monday, October 11, 2010

Cocoa Banana Muffins

This plate perfectly describes these muffins!  They're slightly chocolatey from the cocoa powder (no actual chocolate used), super moist from the bananas and yogurt, and tastefully sweet.  As in, yes, they're a bit desserty, but total acceptable breakfast food. 
I think I might be officially over the chocolate and banana combination for the time being... although this recipe could bring me back.

Cocoa Banana Muffins (adapted from Nick Malgieri's The Modern Baker, 2008)
1 1/2 c. whole wheat flour
2/3 c. cocoa powder
1 tsp. baking soda
1/2 tsp. salt
3 medium very ripe bananas, peeled and mashed with a fork
1/2 c. Greek yogurt or sour cream
12 Tbsp. butter, softened
1 c. sugar
1/2 c. brown sugar
3 eggs
1. Preheat oven to 350. Combine flour, cocoa, baking soda and salt in a mixing bowl and mix well.
2. In a separate bowl, stir together mashed bananas and yogurt/sour cream.
3. Combine butter and sugars in the bowl of an electric mixer fitted with the paddle attachment. Beat on medium speed until well mixed, and a little lightened in color (about 1 min.). Beat in eggs one at a time, beating smooth after each.
4. Decrease mixer speed to low and beat in 1/2 flour mixture, then 1/2 banana mixture. Repeat until everything is mixed and tastes good when you stick your finger in to test (yes, you should definitely not skip this step).
5. Divide batter equally among muffin pans either greased or fitted with cupcake liners.
6. Bake until they are well risen and firm to the touch, about 30 minutes. Cool on a rack then eat up!


Thursday, August 26, 2010

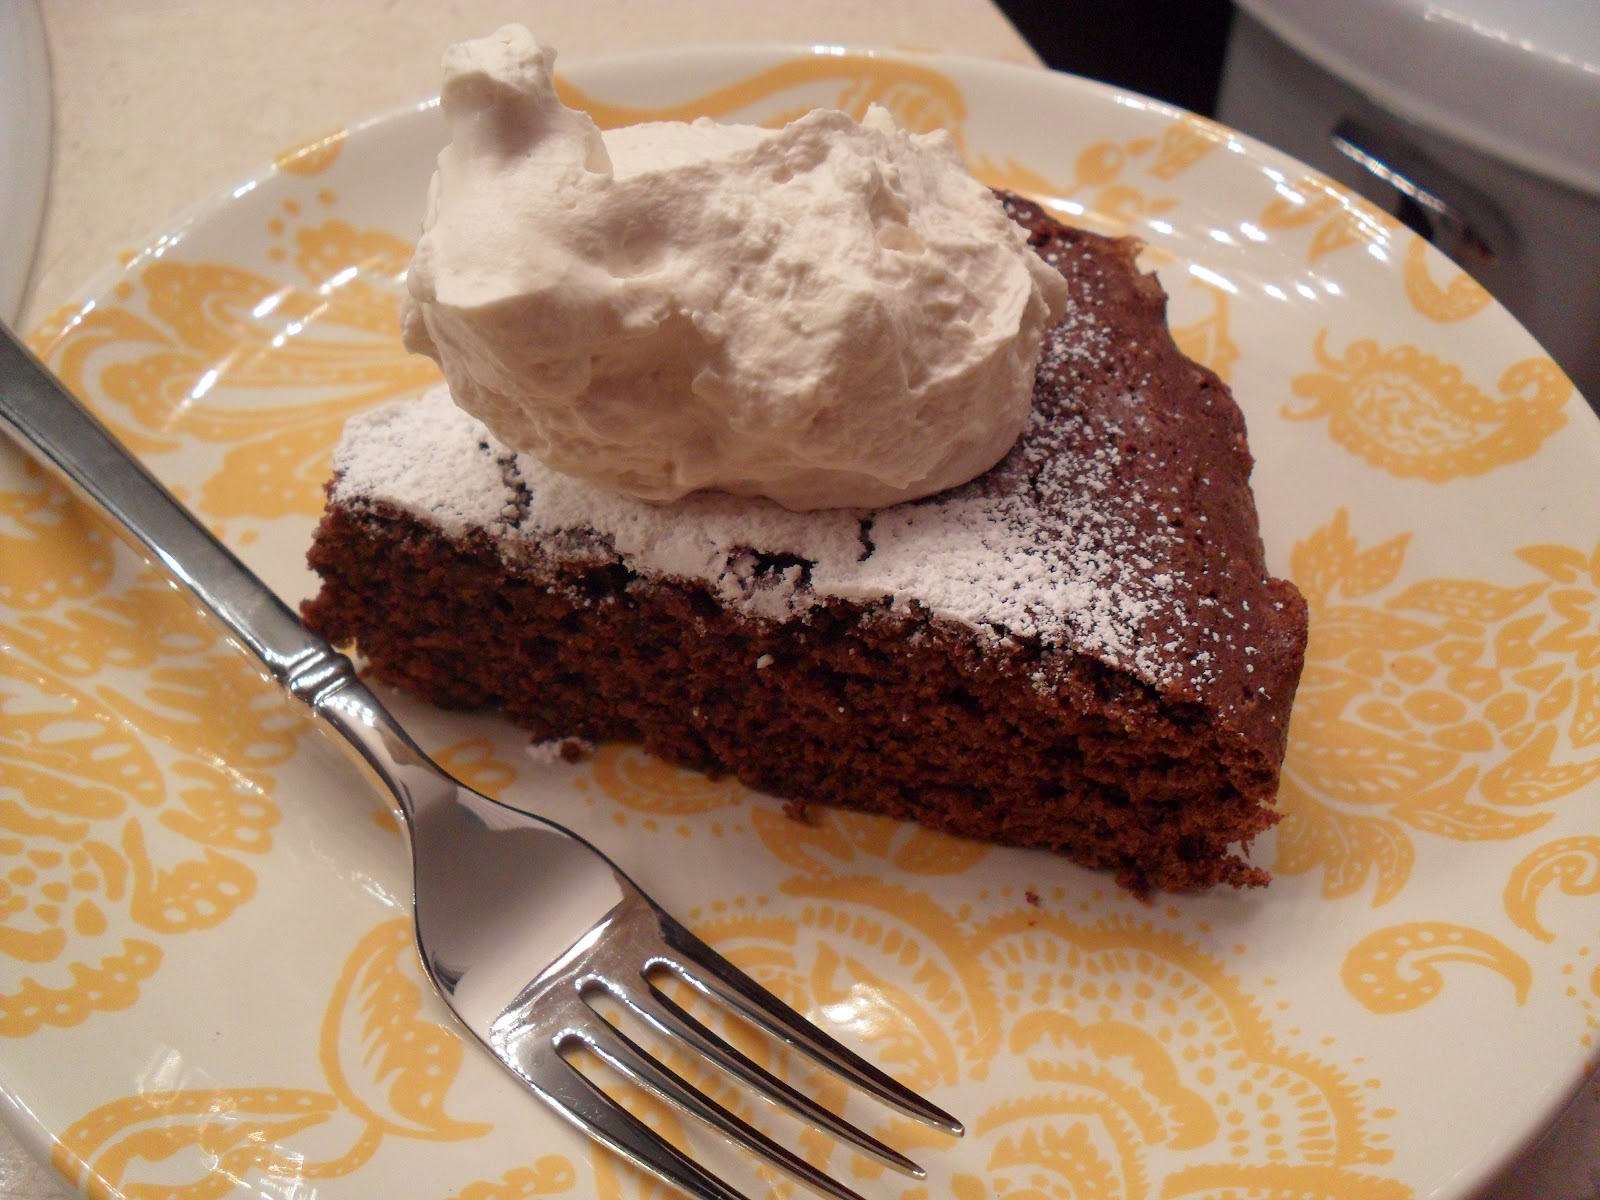
Chocolate+Guinness Cake


Oh my good gracious.
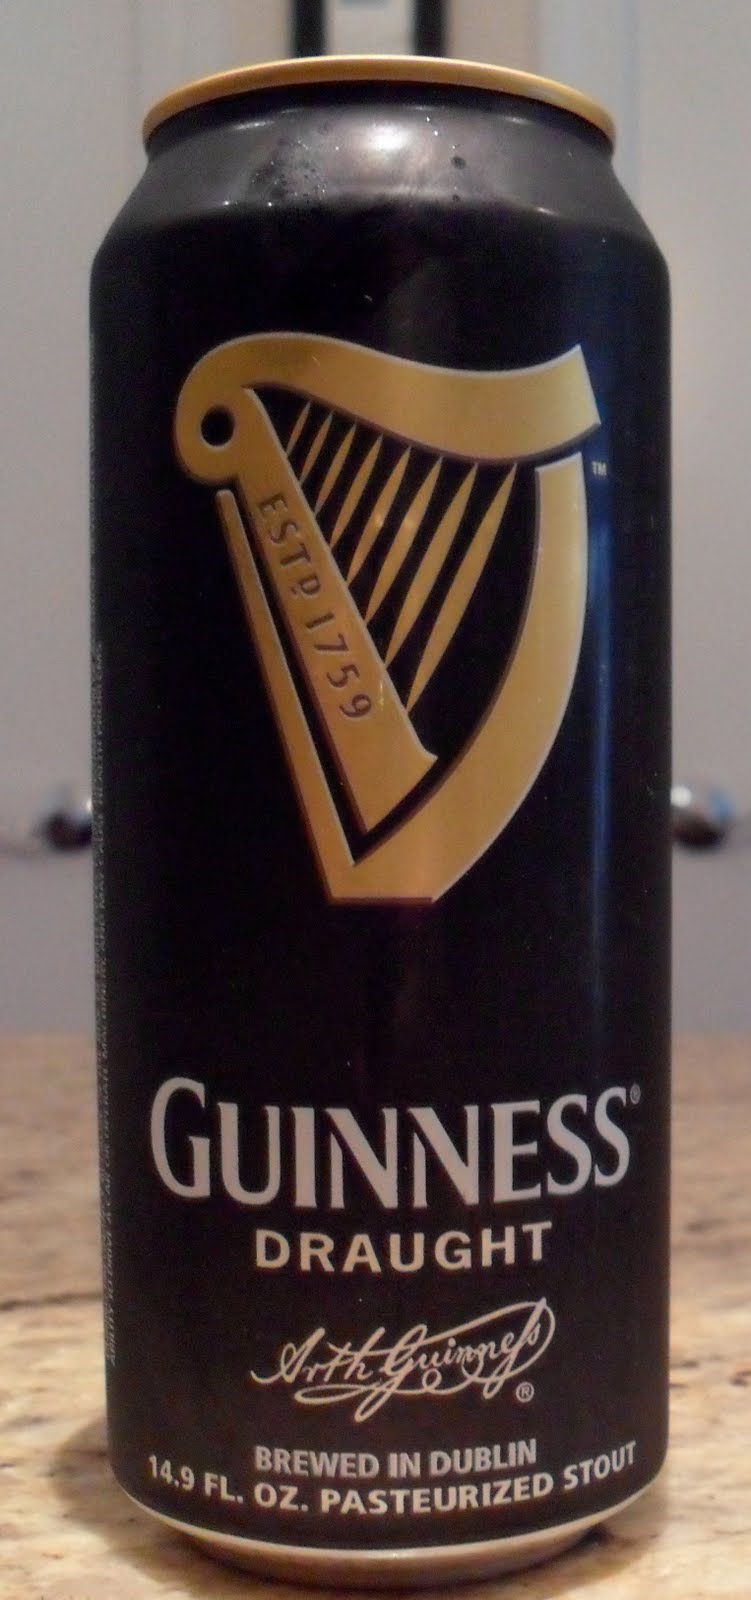
I love having an excuse to bake a cake, and my birthday yesterday was certainly an excellent one.  After scanning through a number of websites, my beloved Smitten Kitchen pointed me in the direction of one chocolate cake.  With Guinness.  And a coffee ganache.
What kind of girl would I be if I said no?
This cake is absolutely superb: moist, rich, and enough to serve about 12-15 people.  Don't worry, John Paul and I did share, albeit a bit grumpily.  The ganache could not be easier to make, and the cake is easy to pull together.  If you're looking for a great cake that is sure to please the chocoholic inside of you, give this one a shot.  And if you're in need of an excuse, I hear that Thursdays only come around once a week and are worth celebrating.


Chocolate+Guinness Cake (from Smitten Kitchen)
1 c. stout (such as Guinness)
1 c. (2 sticks) unsalted butter
3/4 c. unsweetened cocoa powder
2 c. all purpose flour
2 c. sugar
1 1/2 tsp. baking soda
3/4 tsp. salt
2 large eggs
2/3 c. sour cream
6 oz. good semisweet chocolate chips
6 Tbsp. heavy cream
3/4 tsp. instant coffee granules

1. Preheat oven to 350. Grease the heck out of a bundt pan.
2. Bring stout and butter to a simmer in a large, heavy saucepan over medium. Add cocoa powder and whisk until mixture is smooth. Cool slightly.
3. Whisk flour, sugar, baking soda, and salt in a medium bowl. Using electric mixer, beat eggs and sour cream in another large bowl to blend.
4. Add stout mixture to egg mixture and beat to combine. Slowly, add flour mixture and beat briefly on slow speed. Using rubber spatula, fold batter until totally combined.
5. Pour batter into prepared pan and back about 45 minutes, until cake tester inserted into the center comes out clean. Transfer to rack and let cool completely in pan; invert and drizzle ganache over.
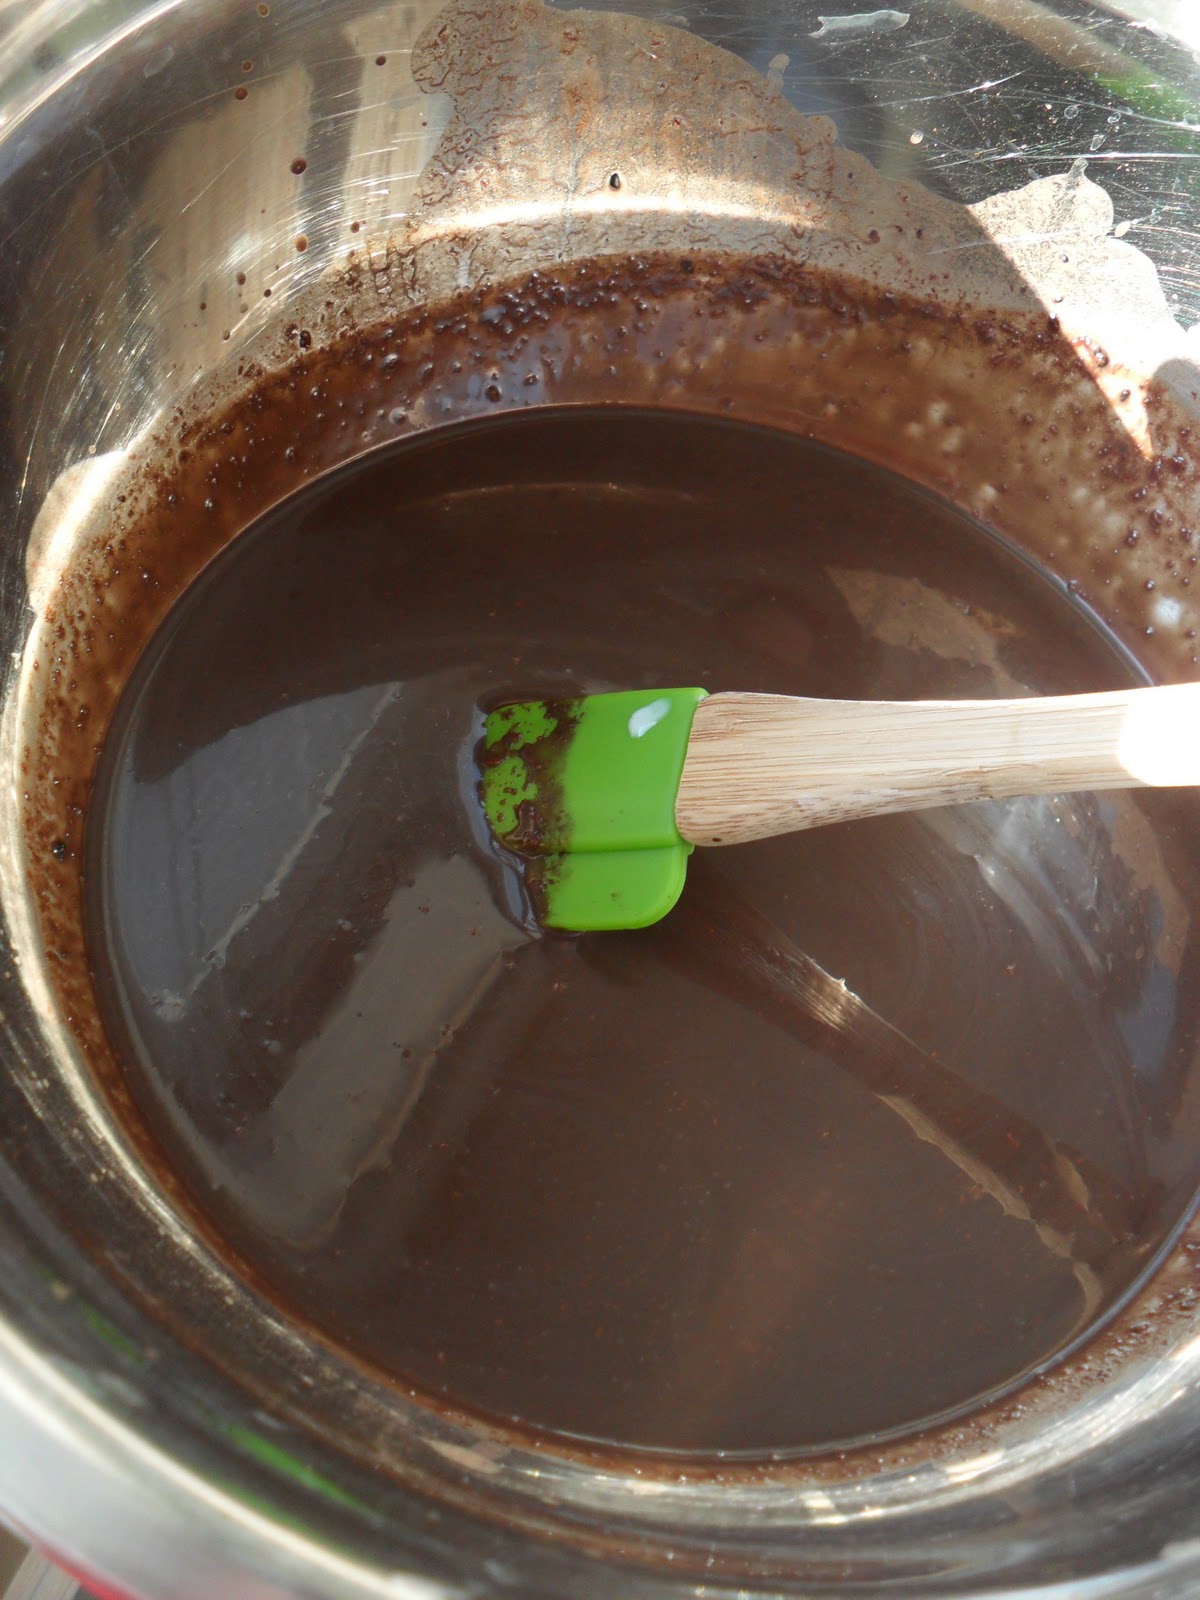
6. Melt chocolate chips, cream and coffee in top of a double boiler over simmering water until smooth and warm, stirring occasionally. Drizzle over top of the cooled cake.